If you’re looking for the best way to host n8n for free, you’ve probably come across dozens of tutorials that leave out important details.
Many guides tell you to deploy n8n on Google Cloud, install Coolify, connect a domain, and you’re done.
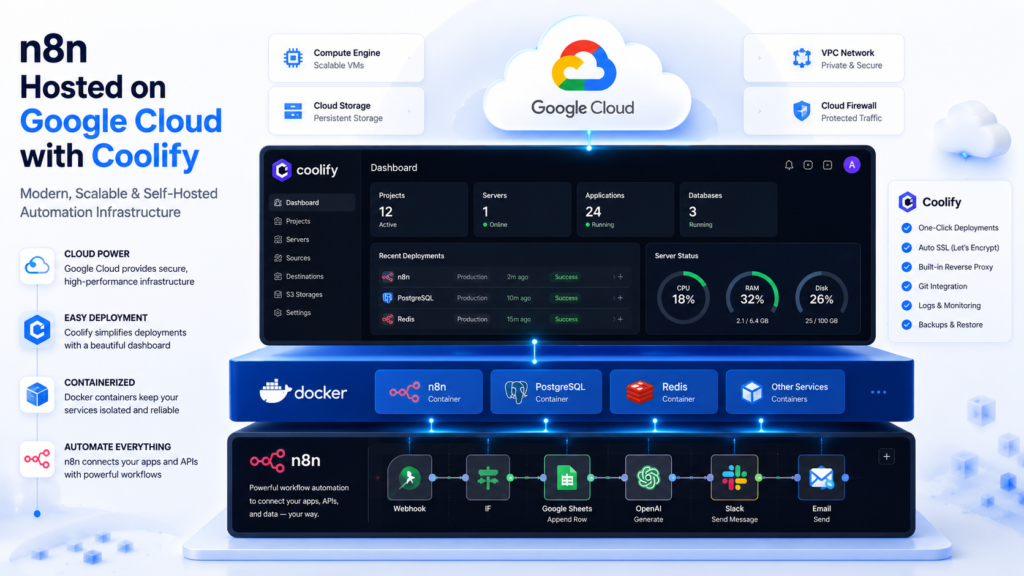
The problem is that most tutorials ignore Google’s free tier limitations and Coolify’s hardware requirements. As a result, many users end up with unexpected bills, server crashes, or painfully slow automation workflows.
Read Also: Google’s Full Nano Banana Playbook: How to Create, Edit, and Prompt AI Images in 2026
This guide walks you through the exact process of hosting n8n on Google Cloud using Coolify, while explaining the limitations, costs, and best practices you need to know before deploying.
By the end, you’ll have:
• A self-hosted n8n instance
• Coolify running on Google Cloud
• Automatic HTTPS
• A custom domain
• Persistent workflow storage
• Production-ready webhooks
• A setup that can scale as your automations grow
What Is n8n?
n8n is an open-source workflow automation platform that allows you to connect apps, APIs, databases, AI models, CRMs, spreadsheets, and business systems without writing extensive code.
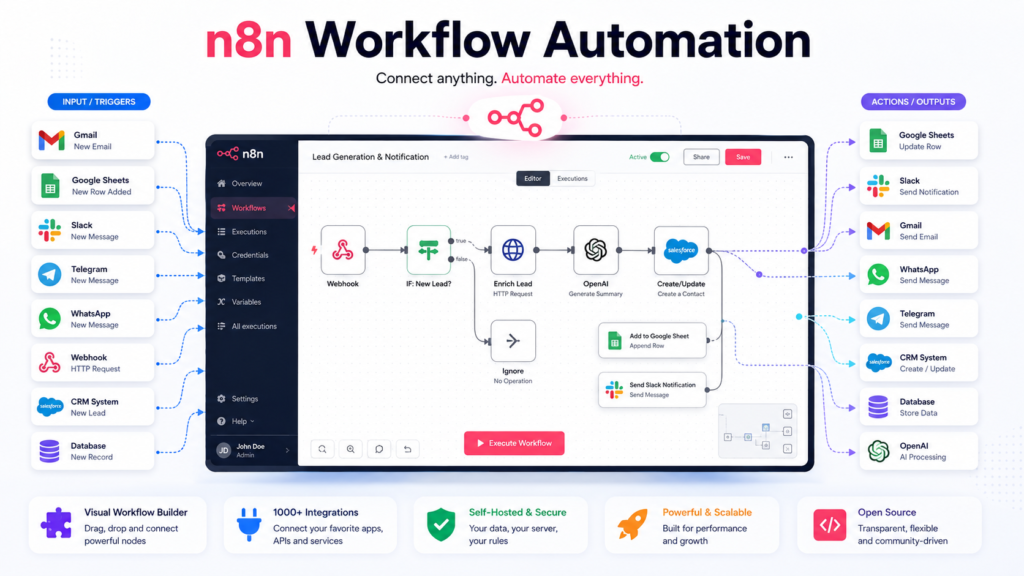
Popular use cases include:
• AI agents
• WhatsApp automation
• Telegram bots
• Lead generation
• CRM workflows
• Google Sheets automation
• Email automation
• Social media automation
• Data synchronization
Unlike Zapier or Make, n8n gives you full control when self-hosted.
What Is Coolify?
Coolify is an open-source alternative to Heroku, Railway, and Render.
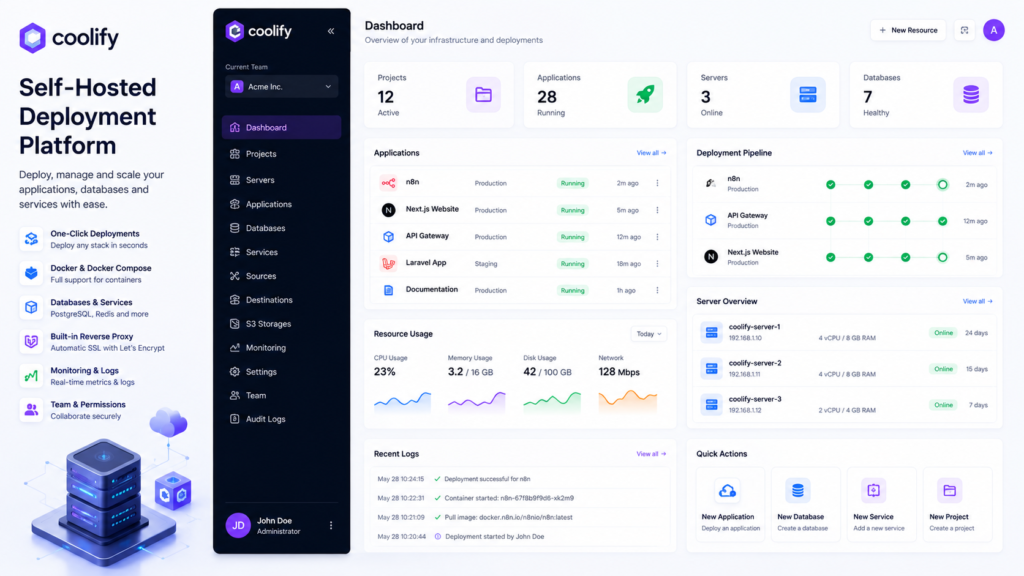
It allows you to deploy applications using Docker without manually configuring complex infrastructure.
Coolify supports:
• Docker containers
• Docker Compose
• PostgreSQL
• Redis
• Static websites
• Node.js applications
• Python applications
• n8n deployments
According to Coolify’s official documentation, self-hosting is free apart from your server costs.
Can You Host n8n on Google Cloud for Free?
Yes, but there is an important distinction.
Google Cloud offers:
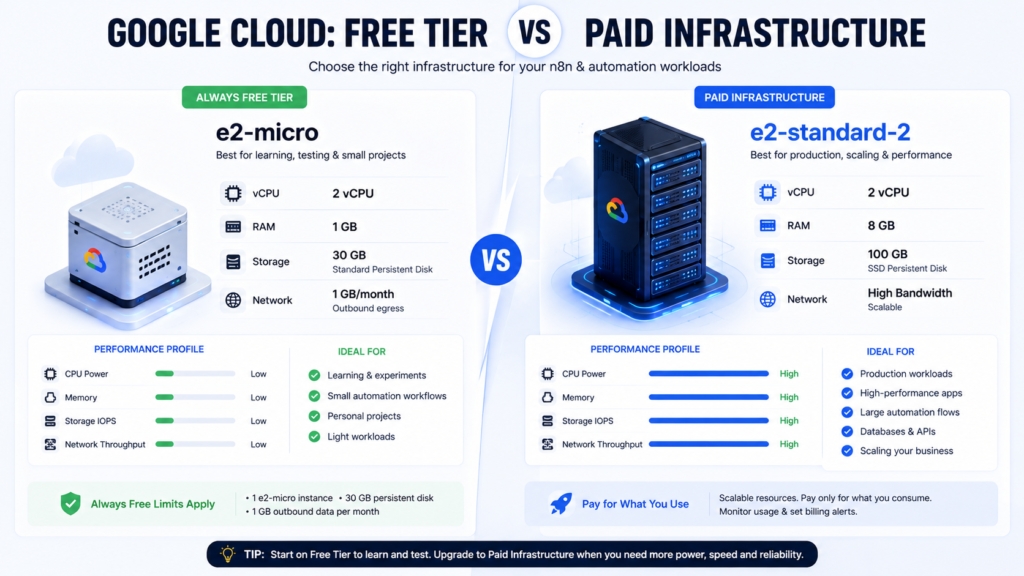
Option 1: Always Free Tier
Google’s Always Free tier includes:
• One e2-micro VM
• Up to 30 GB standard persistent storage
• Up to 1 GB outbound transfer monthly
These resources are available to eligible customers without expiration.
Option 2: $300 Free Trial Credits
New Google Cloud users receive $300 in trial credits valid for 90 days.
This allows you to run larger virtual machines suitable for production workloads.
The Biggest Mistake Most Tutorials Make
Most tutorials recommend:
“Create an e2-micro VM and install Coolify.”
The issue is that Coolify officially recommends:
• 2 CPU cores
• 2 GB RAM
• 30 GB storage minimum
for reliable operation.
Meanwhile, Google’s free e2-micro instance only includes:
• 2 vCPUs
• 1 GB RAM
• 30 GB storage allowance
within the free tier.
Can it work?
Yes.
Should you run production automation workloads on it?
Probably not.
Recommended Architecture
Your final infrastructure should look like this:
User
↓
Cloudflare
↓
n8n.yourdomain.com
↓
Google Cloud VM
↓
Coolify
↓
Docker
↓
n8n
↓
Persistent Storage
This architecture provides:
• SSL security
• Easier DNS management
• Better performance
• Protection against direct server exposure
Read Also: Claude Code vs ChatGPT Codex vs Grok Build: What Is the Difference?
Step 1: Create a Google Cloud Account
Visit:
Create a new project.
Enable billing.
If you’re a new user, your account should qualify for the $300 free trial credits.
Step 2: Enable Compute Engine
Inside Google Cloud:
Compute Engine → VM Instances
Enable the Compute Engine API if prompted.
Step 3: Create Your Virtual Machine
Recommended settings:
Machine Name:
n8n-coolify
Operating System:
Ubuntu 24.04 LTS
Region:
us-central1
Machine Type:
e2-medium
Storage:
30 GB
Enable:
• HTTP traffic
• HTTPS traffic
If your goal is true zero-cost hosting, choose e2-micro.
If your goal is stability, choose e2-medium and use trial credits.
Step 4: Connect to Your Server
Click SSH beside your VM.
Update Ubuntu:
sudo apt update && sudo apt upgrade -y
sudo reboot
Reconnect after reboot.
Step 5: Install Coolify
Run:
curl -fsSL https://cdn.coollabs.io/coolify/install.sh | sudo bash
This is Coolify’s official installation method.
The installer automatically:
• Installs Docker
• Configures Coolify
• Creates required directories
• Starts services
Step 6: Access Coolify
Open:
http://YOUR_SERVER_IP:8000
Create your administrator account.
Complete the onboarding process.
Step 7: Create an n8n Project
Inside Coolify:
Projects
↓
Create New Project
↓
Name:
n8n
Step 8: Deploy n8n with Docker Compose
Create a new Docker Compose resource.
Paste:
services:
  n8n:
    image: docker.n8n.io/n8nio/n8n:latest
    restart: unless-stopped

    environment:
      - N8N_HOST=${N8N_HOST}
      - N8N_PROTOCOL=https
      - WEBHOOK_URL=https://${N8N_HOST}/
      - N8N_EDITOR_BASE_URL=https://${N8N_HOST}/
      - TZ=Africa/Lagos
      - GENERIC_TIMEZONE=Africa/Lagos

    volumes:
      - n8n_data:/home/node/.n8n

volumes:
  n8n_data:
Step 9: Connect Your Domain
Purchase a domain or use an existing one.
Create:
Type: A
Host: n8n
Value: YOUR_SERVER_IP
Example:
n8n.yourdomain.com
Step 10: Configure Environment Variables
Inside Coolify:
Environment Variables
Add:
N8N_HOST=n8n.yourdomain.com
Step 11: Deploy n8n
Click Deploy.
Coolify will:
• Pull the Docker image
• Create containers
• Configure networking
• Start n8n
Deployment usually takes a few minutes.
Step 12: Secure with HTTPS
Add your domain in Coolify.
Coolify automatically manages SSL certificates through its reverse proxy infrastructure.
You should now be able to access:
https://n8n.yourdomain.com
Step 13: Create Your n8n Account
Open your n8n URL.
Create:
• Owner account
• Username
• Password
• Workspace settings
You now have a working n8n installation.
Read Also: How to Build a SaaS Business With AI in 2026: Complete Step-by-Step Guide
Step 14: Test a Workflow
Create:
Manual Trigger
↓
Set Node
↓
Respond Node
Execute the workflow.
If successful, your deployment is working.
Step 15: Test Production Webhooks
Create a Webhook node.
Activate the workflow.
Test the generated URL.
Example:
https://n8n.yourdomain.com/webhook/abc123
If the webhook receives requests successfully, your production environment is ready.
How to Avoid Unexpected Google Cloud Charges
Most accidental charges come from:
• Snapshots
• Extra storage
• Static IP misuse
• Bandwidth overages
• Additional VM instances
Many users discover that the VM itself is not the problem. Storage and snapshots often generate the unexpected charges.
Create billing alerts:
Billing
↓
Budgets & Alerts
Suggested alerts:
• 50%
• 75%
• 90%
• 100%
Should You Use PostgreSQL Instead of SQLite?
For learning purposes:
SQLite is fine.
For client projects and production workloads:
Use PostgreSQL.
Benefits:
• Better reliability
• Improved performance
• Easier backups
• Better scalability
Coolify supports PostgreSQL deployment directly.
Frequently Asked Questions
Is n8n free?
Yes. n8n is open source and can be self-hosted.
Is Coolify free?
Yes. Self-hosted Coolify is free. You only pay for infrastructure costs.
Can I run Coolify on Google’s Always Free tier?
Technically yes.
Practically, performance may be limited because Coolify recommends at least 2 GB RAM
Do I need Docker knowledge?
No.
Coolify abstracts most Docker complexity.
Can I use Cloudflare?
Yes.
Cloudflare is strongly recommended for DNS management and additional protection.
Final Thoughts
If your goal is to learn automation, build AI agents, automate business processes, or deploy client workflows, hosting n8n with Coolify on Google Cloud is one of the most flexible setups available.
The key takeaway is simple:
Google Cloud’s Always Free tier can work for experimentation.
Google Cloud trial credits are better for serious deployments.
Start small, monitor billing carefully, connect a custom domain, and upgrade your infrastructure only when your automation workload demands it.
That approach gives you a reliable, scalable, and low-cost n8n hosting environment that you fully control.





Leave a Reply